-
Guide
Tags
API
What's new
guide
- Introduction
- FAQ
- Vocabulary
Platform
- Projects
- Import & Export
- Data Management
- Labeling Configuration
- Labeling Interface
- Machine Learning
Process
- Statistics
- Machine Learning Backends
- Verify and Monitor Quality
People
- User Accounts
- Guide for Annotators
- Organizations
- Teams
Various
- Activity Log
- JavaScript SDK
- Embed Annotation
- On-Premise Setup
- On-Premise Usage
Organizations
This documentation describes Heartex platform version 1.0.0, which is no longer supported. For information about organizations and workspaces in Label Studio Enterprise Edition, the equivalent of Heartex platform version 2.0.x, see Manage access to Label Studio.
Create Organization
A new organization associated with your account is automatically created when you sign up to the Heartex platform.
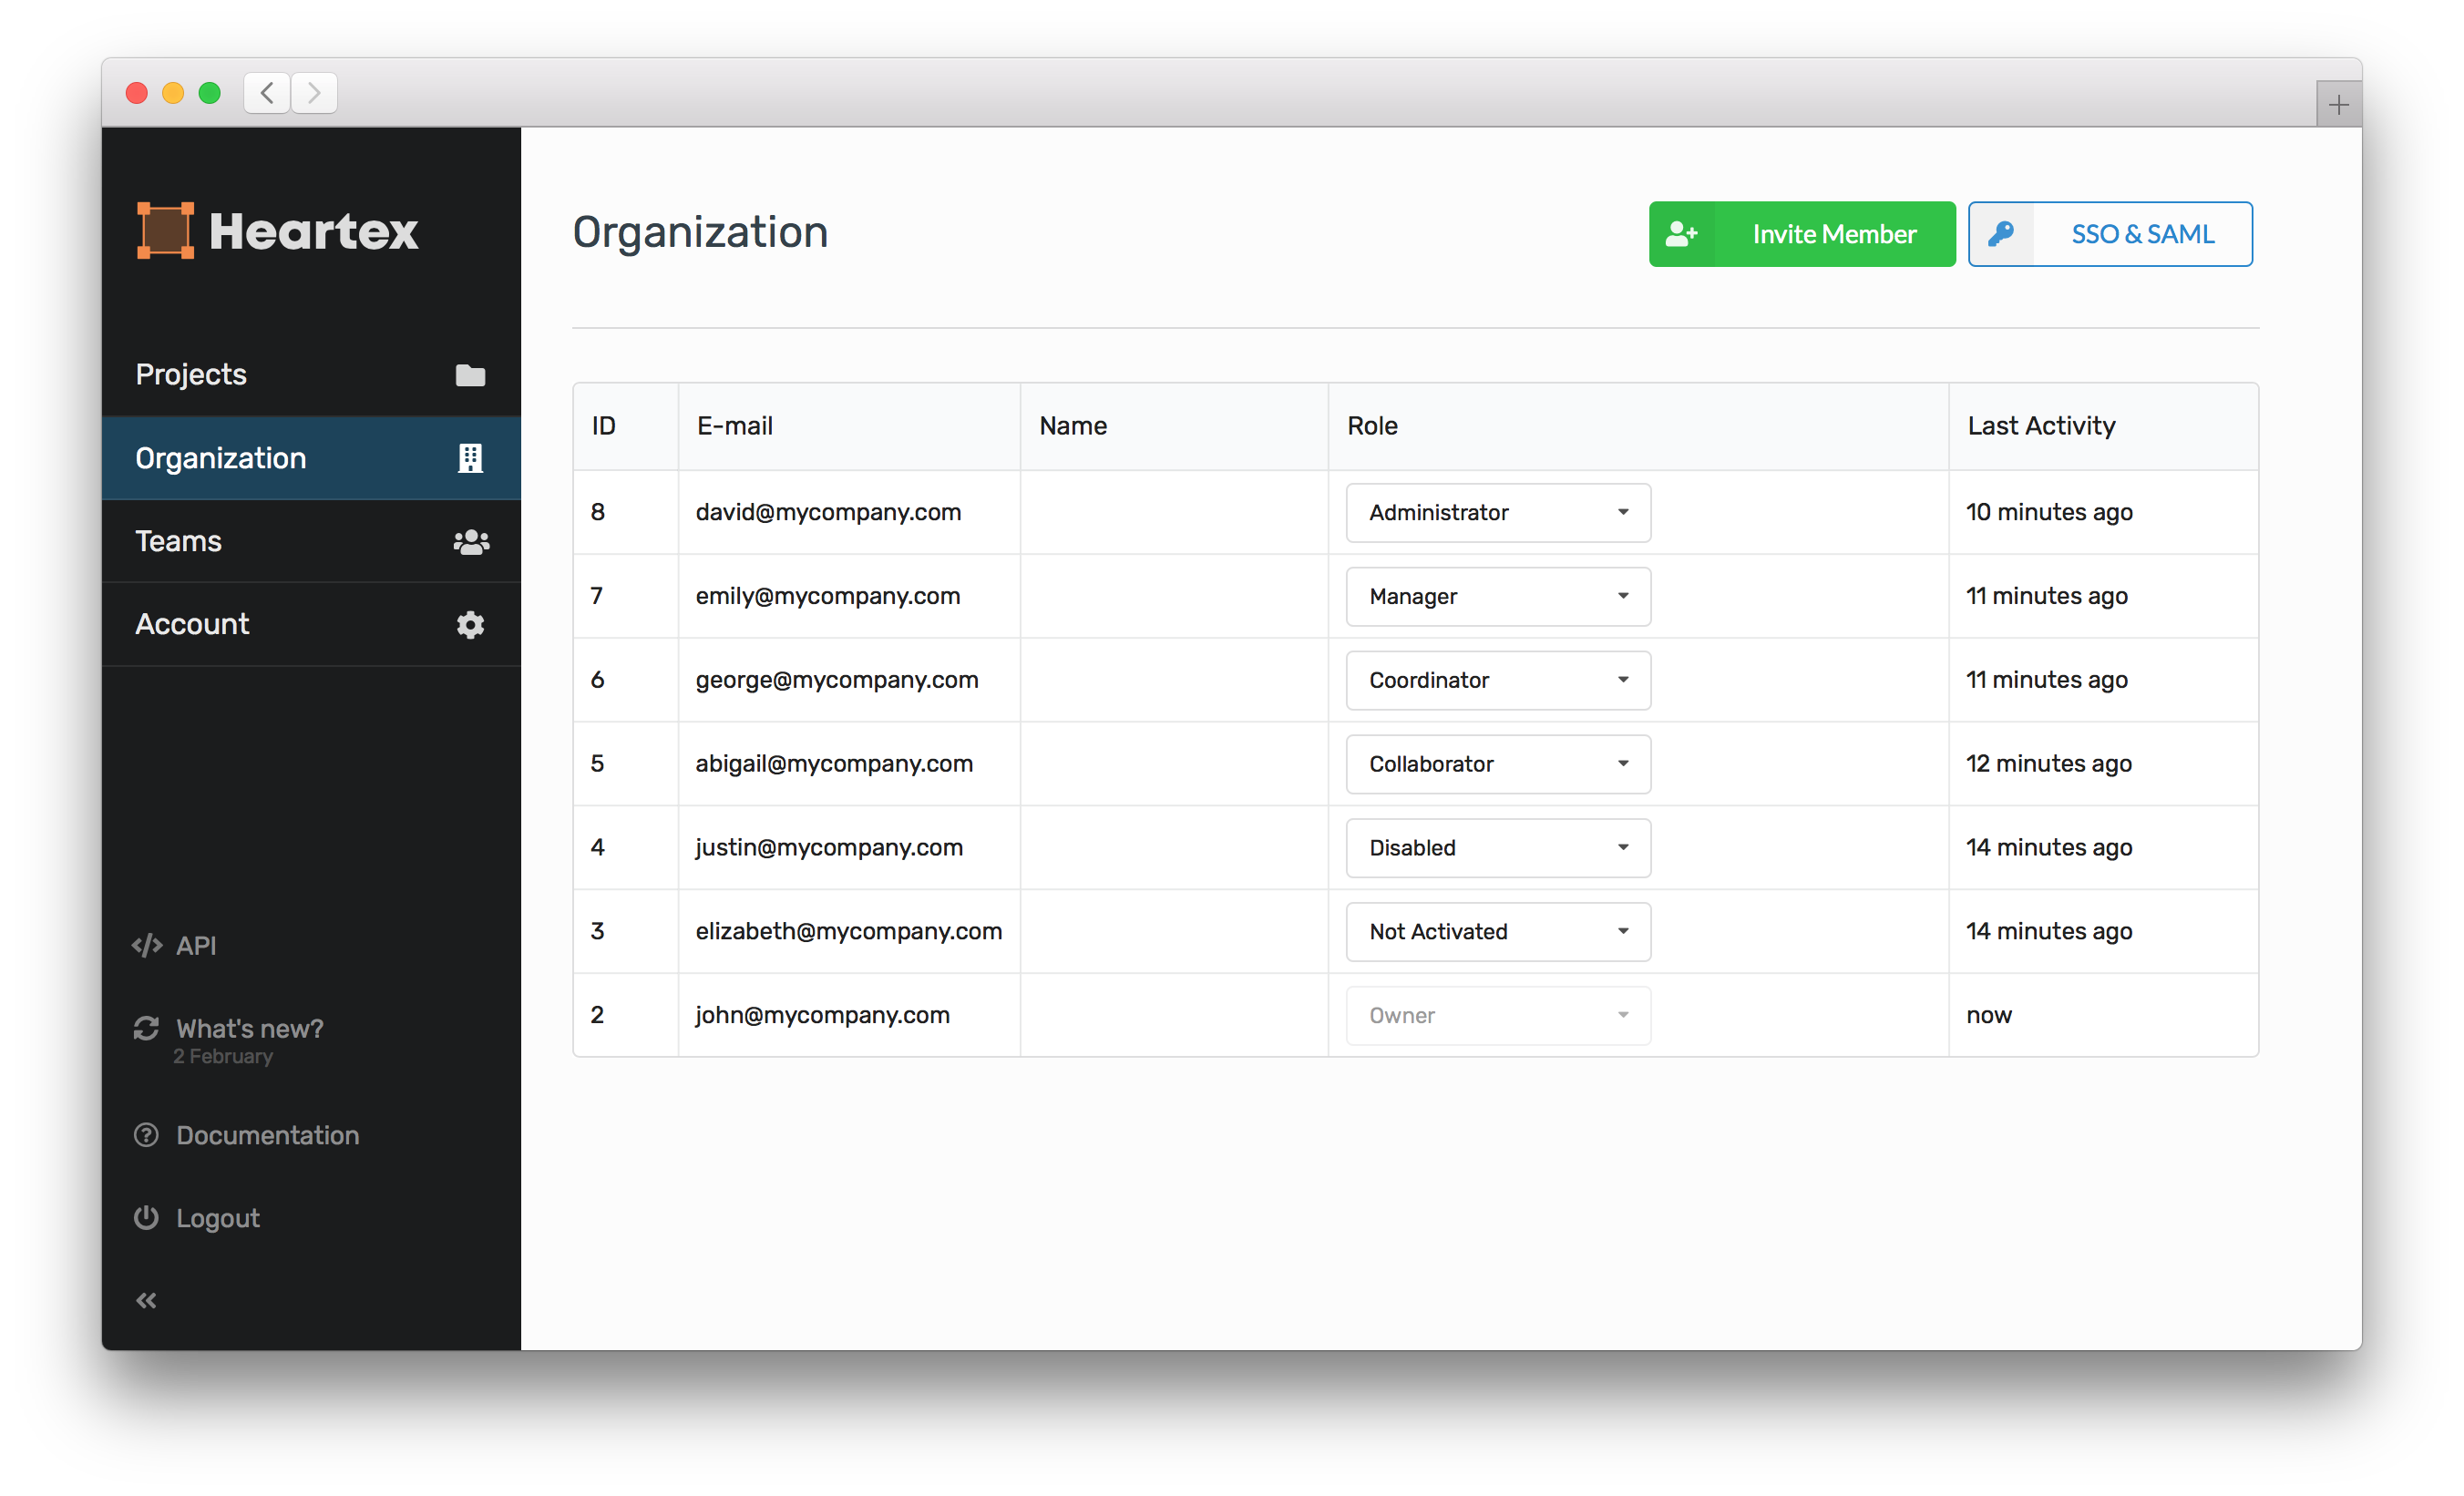
You can’t create multiple organizations for a single account. To explore, manage and invite the new members to your organization, go to the Organization page.

Invite Members
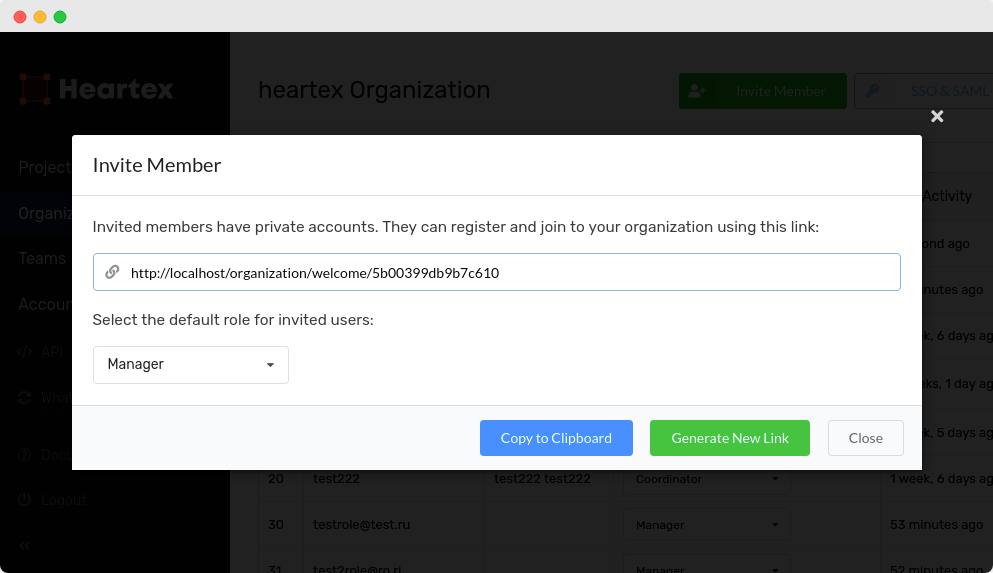
On Organization page, click on Invite member button. The link showed in the modal dialog could be shared to invite new members to your organization.

Assign Roles
Organization members roles restrict an access to the specific platform features. Read more about the roles permissions.
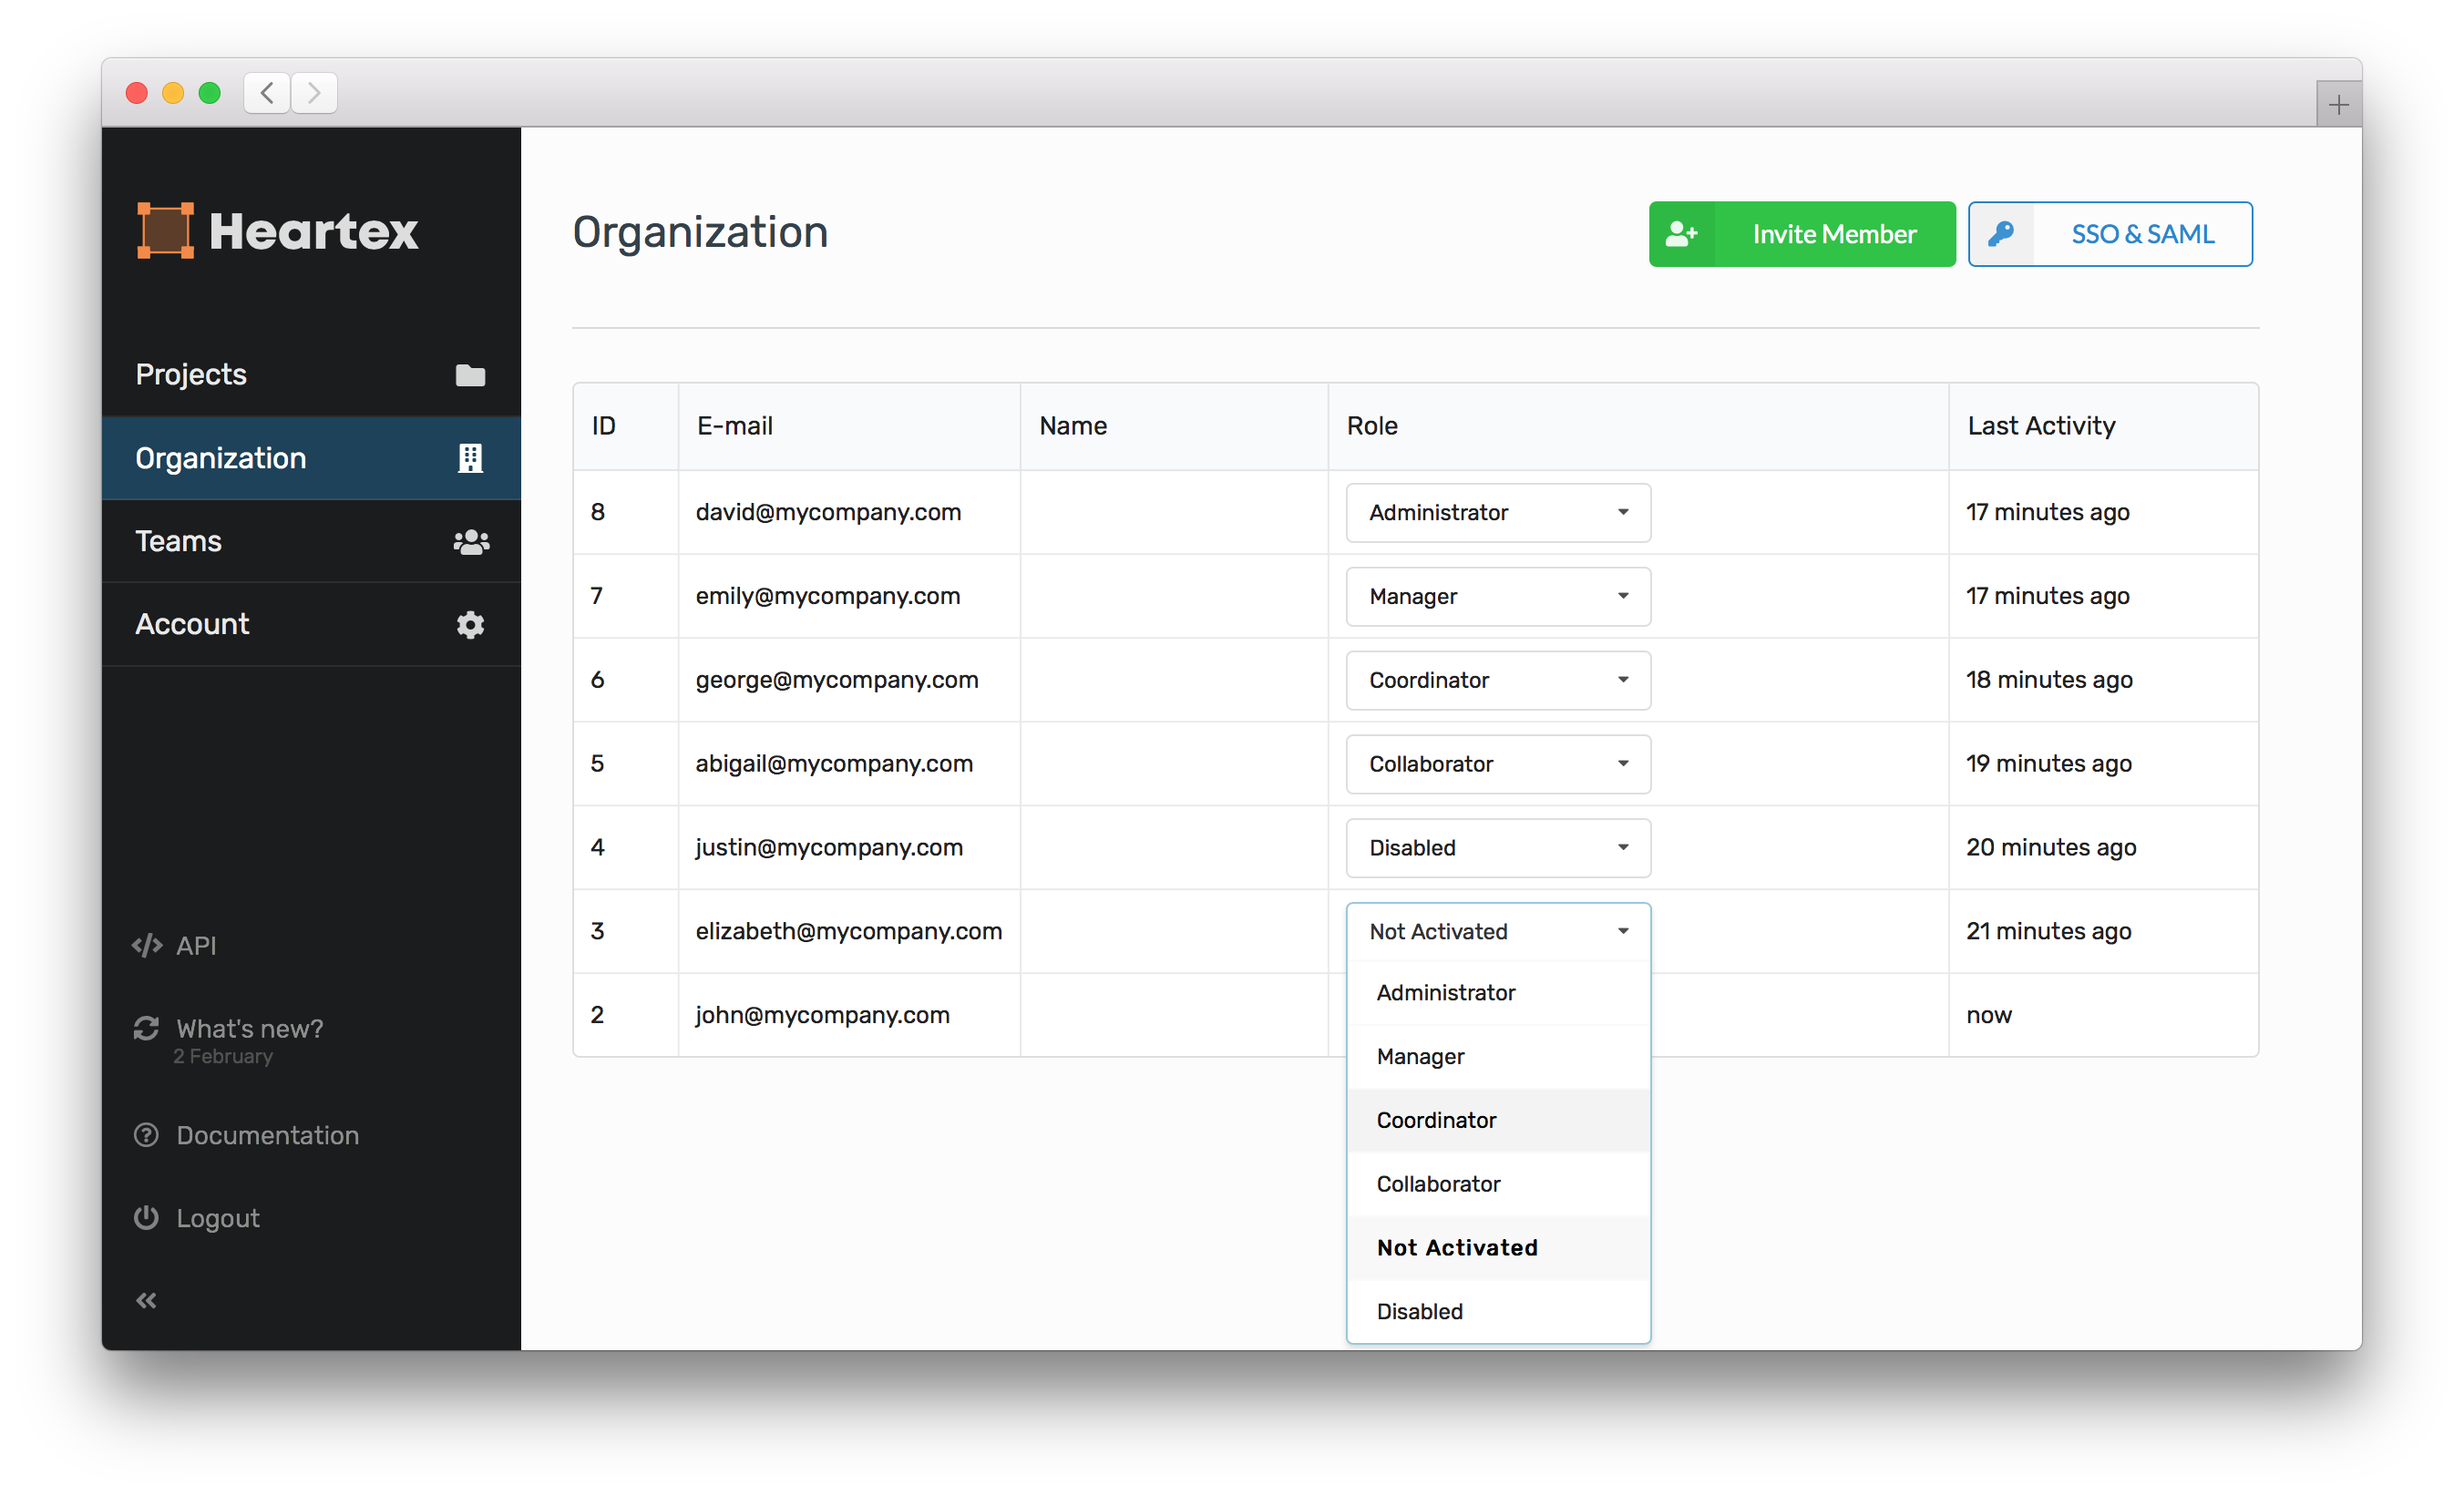
Once the new member has been invited to your organization, his/her role is marked as Not Activated. To assign a new role to the organization member, go to the Organization page and select a target role in front of organization member row under the “Role” column.
Assigning organization member role propagates permissions for the teams, projects and tasks created within current organization.

Switch between Organizations
When your user account holds membership with the multiple organizations, you can switch between your organizations on Organization page. Click on Switch button. You’ll see organization tab on Account page. Click on the Login button of the organization where you want to switch to.
Single Sign On based on SAML
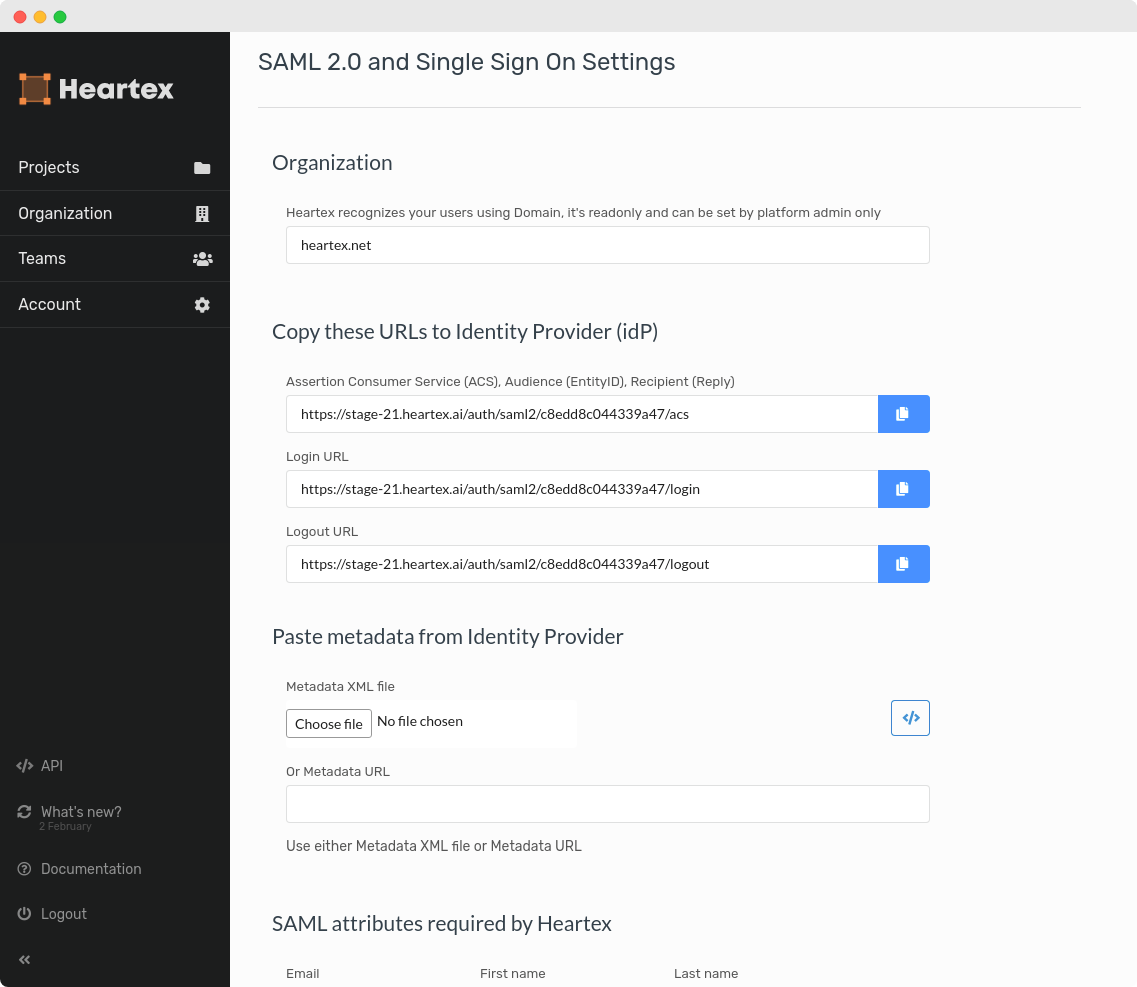
You can setup Single Sign On based on SAML protocol with different Identity Providers (Microsoft Active Director, OneLogin and others). Go to “SSO & SAML” settings on Organization page (this button is available for Organization owner).

Single Sign On based on LDAP
This feature is available as the on-premise feature for this moment.
