-
Guide
Tags
API
What's new
guide
- Introduction
- FAQ
- Vocabulary
Platform
- Projects
- Import & Export
- Data Management
- Labeling Configuration
- Labeling Interface
- Machine Learning
Process
- Statistics
- Machine Learning Backends
- Verify and Monitor Quality
People
- User Accounts
- Guide for Annotators
- Organizations
- Teams
Various
- Activity Log
- JavaScript SDK
- Embed Annotation
- On-Premise Setup
- On-Premise Usage
Guide for Annotators
This documentation describes Heartex platform version 1.0.0, which is no longer supported. For information about labeling in Label Studio Enterprise Edition, the equivalent of Heartex platform version 2.0.x, see Label and annotate data.
You’re a collaborator. Welcome!
In this section, you can learn about the labeling interface and what functionality is available to your role.
Getting an Account
Collaborator (Annotator) accounts are created by accessing a unique URL (invite link) you get from the administrator.
After you go by invite link you need to register.

Login
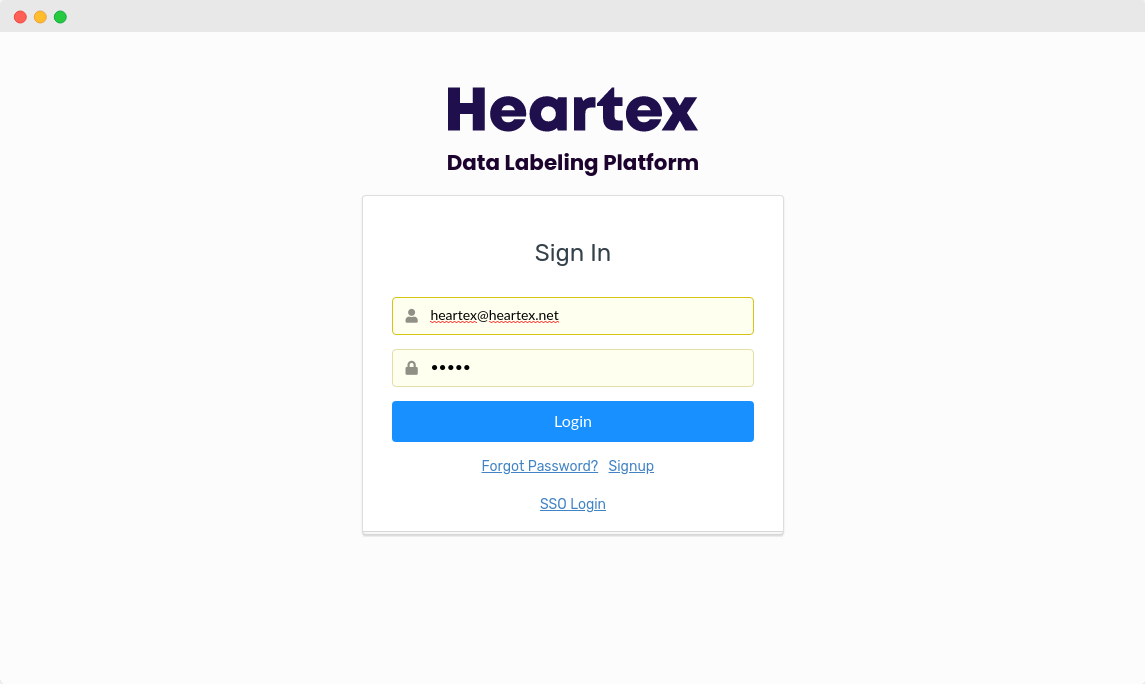
First of all, login to your account. Then you can view the list of the projects you’ve been invited into. Note that the administrator has control over which projects you have access to.
Projects
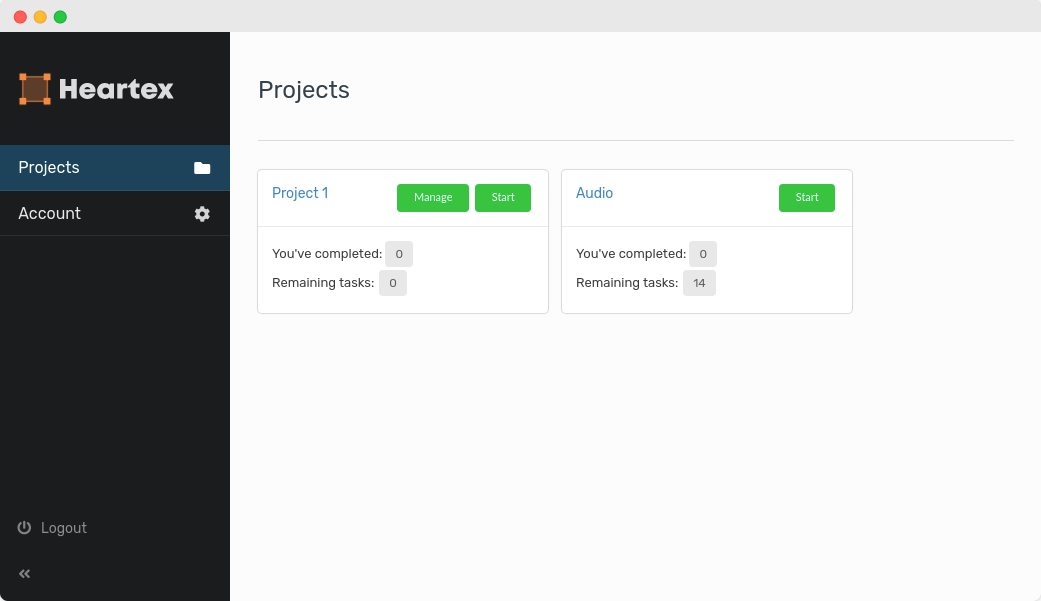
The main screen where you can find all the projects you are invited to.
Labeling interface
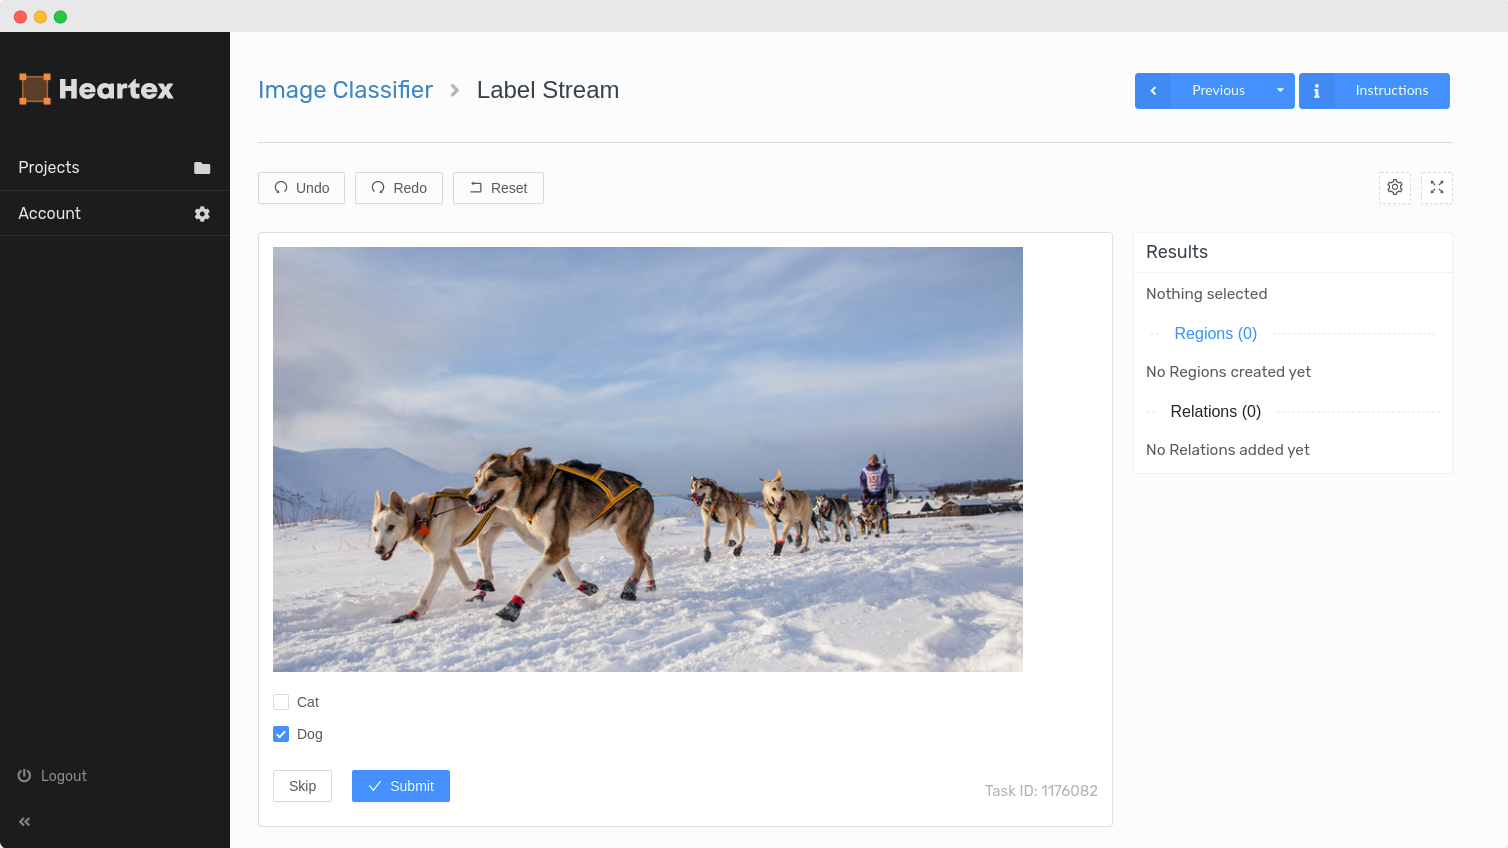
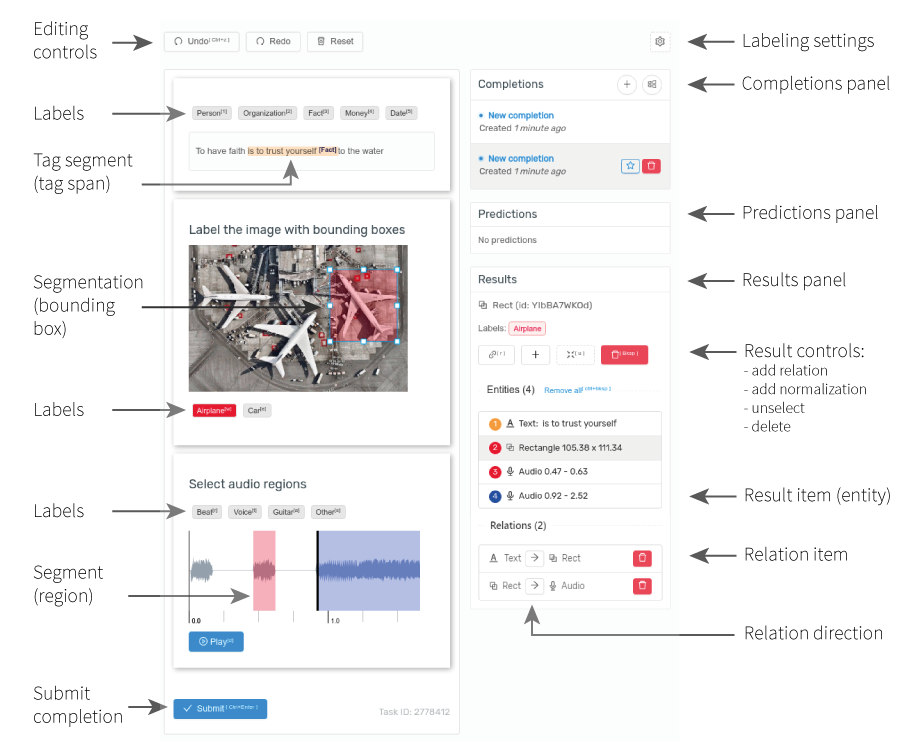
The main work area is the Labeling interface. It allows you to annotate the task. Since it’s configurable for the specific task, it can vary visually and depends on data sources: Audio, Texts, Images, Time-Series, etc.
Read more about Labeling Interface.
Labeling Instructions
You can press the “Instructions” button on the labeling interface always to get hints about how to perform the labeling.
Carefully study instruction before starting labeling. You can always come back to it later if you’re not sure about the task at hand.
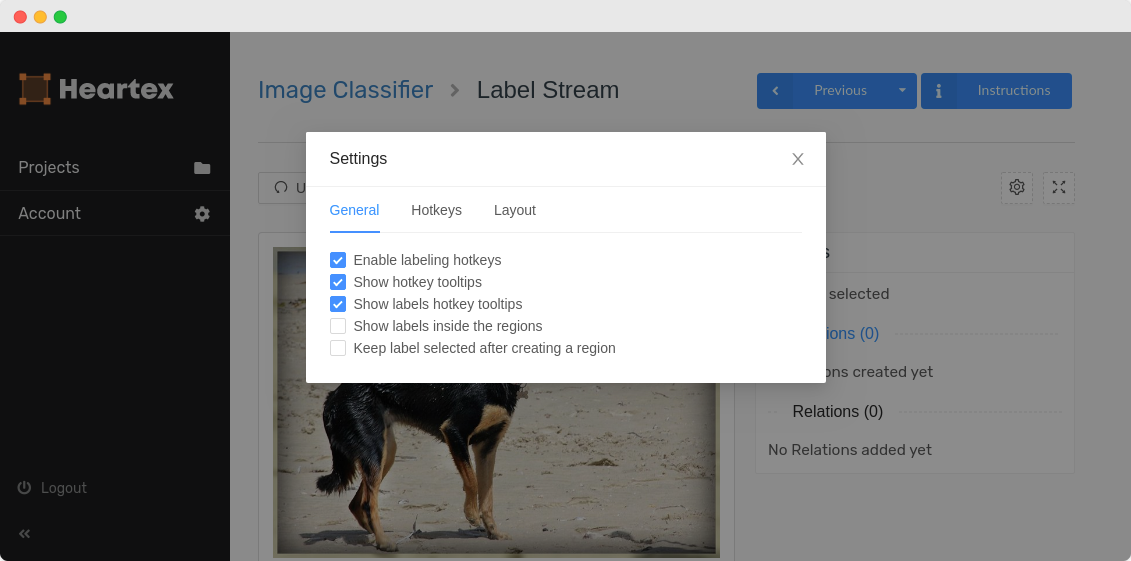
Hotkeys
The editor could be configured to show a hotkey hint. Hotkeys enable you to execute tasks faster.
Skip or Submit task
When you’re not sure what the answer to the task is, you can skip it. You can also submit an empty task when it makes sense. Study the instruction carefully.
Note: Skip button is shown if the administrator enables this option in the project settings.

Manage completed tasks
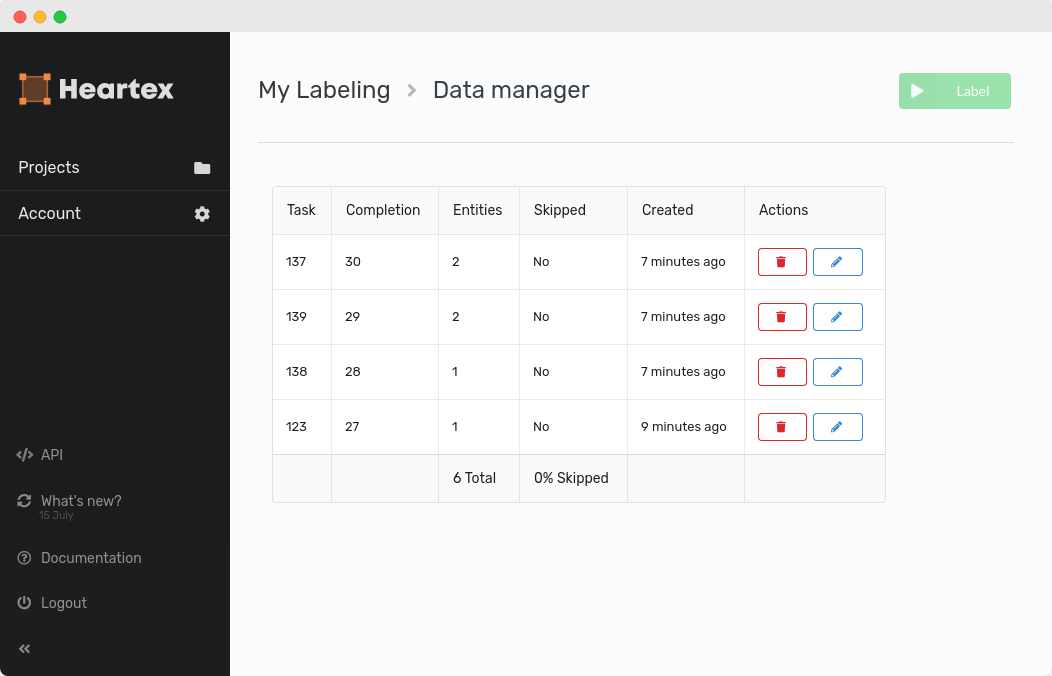
You can manage your completions by the “Manage” button on the Projects page.
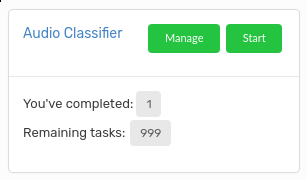
Here you may edit (pencil icon) or remove your completions via completion history page.
Note: Data manager is available only if the administrator enables it in the project settings.
