On-Premise Usage
This documentation describes Heartex platform version 1.0.0, which is no longer supported. For information about on-premises setup and installation of Label Studio Enterprise Edition, the equivalent of Heartex platform version 2.0.x, see Install Label Studio Enterprise on-premises using Docker.
Usage
Create a new user
Go to /business/signup page, enter email and other information about the new user, and then press sign up.
Password reset
Superusers can reset any user passwords. See the ‘Set password to any user’ section below.
Manage Backups
All data stored by Heartex is located inside the PostgreSQL database, which has its data files inside the Docker $folder. We recommend that you have periodic backups of the data to avoid data losses.
Software Requirements
Lets make sure it’s compatible with the postgresql server that we are running
> psql --version
psql (PostgreSQL) 9.2.24
> pg_dump --version
pg_dump (PostgreSQL) 9.2.24
> pg_restore --version
pg_restore (PostgreSQL) 12.3
Environmental setup
Make sure you have the following environmental variables defined (they are typically the same as listed in env.list file in deployment setup guide)
# PostgreSQL database name
POSTGRE_NAME=postgres

# PostgreSQL database user
POSTGRE_USER=postgres

# PostgreSQL database host
POSTGRE_HOST=db
Backup
To do a backup, manually or programmatically, follow these steps:
Stop a perhaps running Heartex software (typically:
docker stop heartex)Execute the following script
pg_dump -h $POSTGRE_HOST -U $POSTGRE_USER -Fc $POSTGRE_NAME > db.dump
type DB password if prompted.
Restart Heartex: (typically:
docker start heartex)
Restore
To restore the backup:
Stop a perhaps running Heartex software (typically:
docker stop heartex)Clean old DB and restore from saved backup
db.dumppg_restore -h $POSTGRE_HOST -d $POSTGRE_NAME -U $POSTGRE_USER --clean db.dumpRestart Heartex: (typically:
docker start heartex)
Server administration
For server administration, we use the Django Administration panel. This is a web application, and it’s available on the page: /admin. Superusers have full access to any parts of the site, including the Django admin area.
Create a new superuser
- Create a new user as described in
Create a new user. - Go to /admin page, login as
heartex@heartex.net(or another superuser). - Go to
Userstable and click on the user you need to upgrade. - Add checks to
Staff statusandSuperuser status - Click on
Save
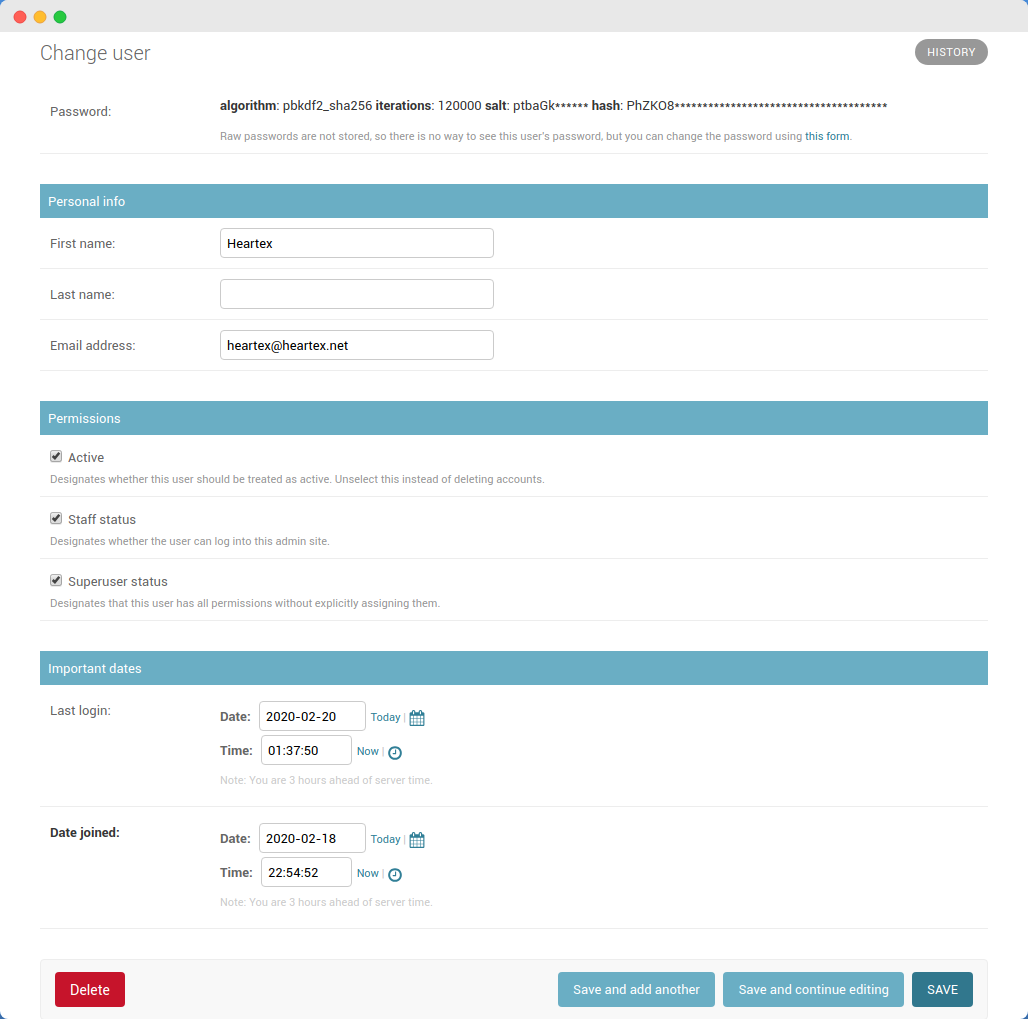
Set password to any user
- Go to /admin page, login as
heartex@heartex.net(or another superuser). - Go to the
Userstable and click on the user you need to change password. - In the
Passwordfield, you will find a link to the password reset form.
Remove users
- Go to /admin page, login as
heartex@heartex.net(or another superuser). - Go to the
Userstable and select users to remove. - Select in
Action=>Delete selected usersand pressGo.
Connect ML backend
- Go to /admin page, login as
heartex@heartex.net(or another superuser). - Find
PROJECTS -> Ml backendstable and then clickAdd ML Backend +. - Choose User ID who creates this model (could be
heartex@heartex.net) - Specify fully accessible URL with host and port under
Urlsection, e.g.Url: http://your.ml.server:8080 - Specify ML backend name under
Namesection (for internal use) - Specify ML backend title that will be displayed in UI under
Titlesection - Choose
Type: Internal - Optionally add
Descriptiondisplayed in model selector
Then click Save. Now you’ve just created your ML backend. Read more how to connect it to your project on the project ML settings page (Add Custom Model).
What else?
It’s possible to modify tables below over Django admin. But it’s VERY DANGEROUS and CAN NOT BE UNDO. Use this in extreme cases only.
- Task & Task Completion
- Projects
- Projects Templates
- Business, Membership
- MLBackend, MLBackendConnection, MLBackendTrainJob, MLBackendScheduledJob